Surviving a 12-hour (or less) hike at Mount Pulag
- By atthemomentmanila@gmail.com
- •
- 09 Nov, 2018
- •
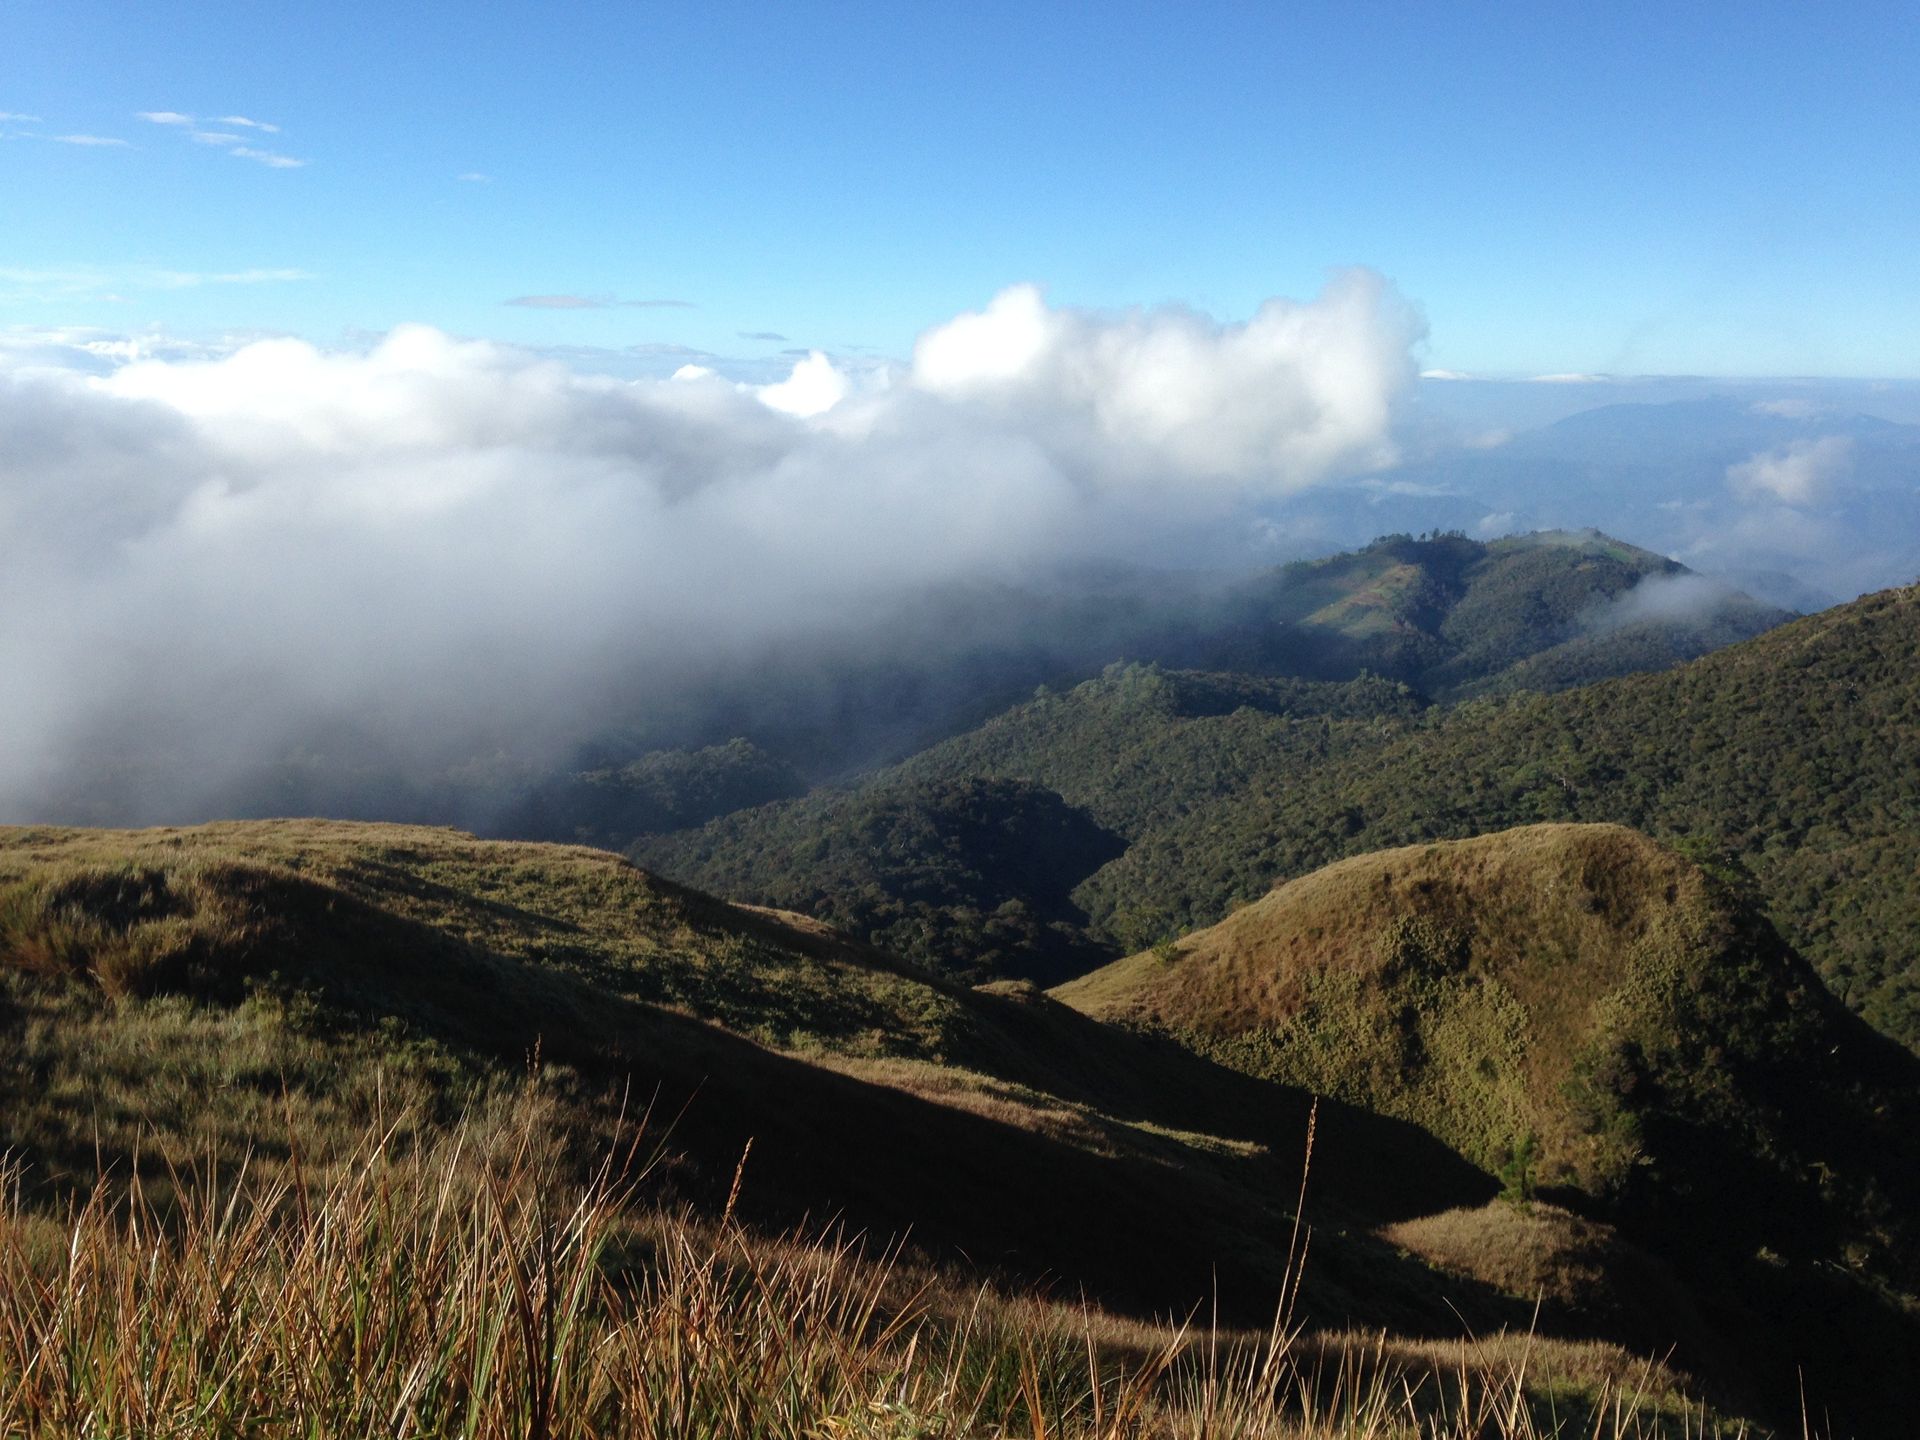
Known as the third highest mountain in the Philippines, we're pretty sure Mount Pulag is already added to your bucket list!
We've prepared this guide to help you out on your journey if you want to commit to it this 2019!
BEFORE THE HIKE
Here are the things you need to plan or take note of before going on the hike.
- Invite your family and friends! Going on this adventure is much more fun if you've got your favorite people with you.
- Load up on carbs. Around one week before the hike, make sure you load up on carbs so you have the energy you need. If you weren't able to do this, just make sure you eat complete and full meals the day before you climb the mountain.
- Tell your family or close friends about your plan. Make sure you inform them beforehand because mobile signal at the mountain is very scarce. At the area around the Ranger Station, some spots have signal, but there's more areas that have no signal so it's best to be sure!
- Check weather reports at Kabayan by calling the Mt Pulag Protected Area Office or by visiting the Facebook page of Mt. Pulag National Park Bulletin. Sometimes, climbs are suspended when there's threat of storms. If there is a storm coming or it's still raining hard especially near the area, it's best to reschedule your hike.
- Plan your leaves from work. This isn't necessary, but one to two days after the hike your legs will hurt. As in hurt to the point where walking feels too difficult. It's best to plan your leaves just in case so you'll have time to rest.
- Look for pose ideas to get the perfect shots when you're at the summit!
EXPENSES
- Bus from Cubao to Baguio (Victory Liner) - Php 450
- Van ride from Baguio City to Ambangeg - Php 120
- Motorcycle ride from Ambangeg to Ranger Station - Php 250
- Medical certificate - Php 150
- DENR entrance fee - Php 175
- LGU fee - Php 150
- Tour guide - Php 120 (per head, for a group of 6 people. If there's more people in your group, you'll have to add another tour guide)
- Homestay - Php 300 per night
- Meals at the homestay - around Php 100 per meal
WHAT YOU NEED TO WEAR
This is a list of what you'll wear during hiking. Bring extra clothes you could change into after the hike so you'll feel more comfortable on the way home.
- Thick, comfortable underwear
- A rash guard/thin shirt + pajamas/leggings (first layer)
- A long sleeved shirt + jogging pants/leggings (second layer)
- Another long sleeved shirt + jogging pants, preferably nylon (third layer)
- A sweater, preferably waterproof or nylon + jogging pants, nylon if your third layer is cotton (fourth layer)
- Three socks or two thick socks
- Hiking boots or rubber shoes (that you're sure won't ruin easily)
- A bonnet that covers down to your ears
- Winter gloves
- A scarf
- A cloth mouth mask (optional if you already have a thick scarf)
- A raincoat (just to be sure!)
WHAT FOOD TO BRING
- At least 1000ml of water
- At least 500ml Gatorade (optional if you think water is enough for you)
- Around 7-8 energy bars (you can add or subtract depending on your appetite, but it's best to pack more to be sure)
- Around 7-8 biscuits
- Small chocolate bars (for additional energy)
You don't need to bring too much water because there's a hose at different spots of the mountain where you can get spring water. The spring water is clean and potable, but if your stomach is sensitive, then it's best to bring more water.
WHAT ITEMS TO BRING
- A flashlight or a head torch (everyone must have this! Don't just rely on your phone's flashlight)
- Your phone or camera (If you're bringing a DSLR, make sure to keep it in a secured bag so it's safe in case it rains or you'll have to pass through muddy areas)
- A battery pack/power bank
- A ziplock bag (to keep your gadgets in in case it rains)
- Tissue or wipes (small packs so it's not too heavy)
- Basic medicines such as pain relievers or tablets for fever (just in case)
- Duct tape (in case your shoes break!)
- A pair of slippers or an extra pair of shoes (again, in case your shoes get ruined)
- A cap (optional, just to be sure because the sun can shine extra bright on your way down)
ACCOMMODATIONS
Be sure to make arrangements regarding your accommodations in Baguio City (if you'll be staying for a few days) to rest, and in Kabayan, Benguet. We suggest you look into places for homestay rather than camping especially if this is your first time.
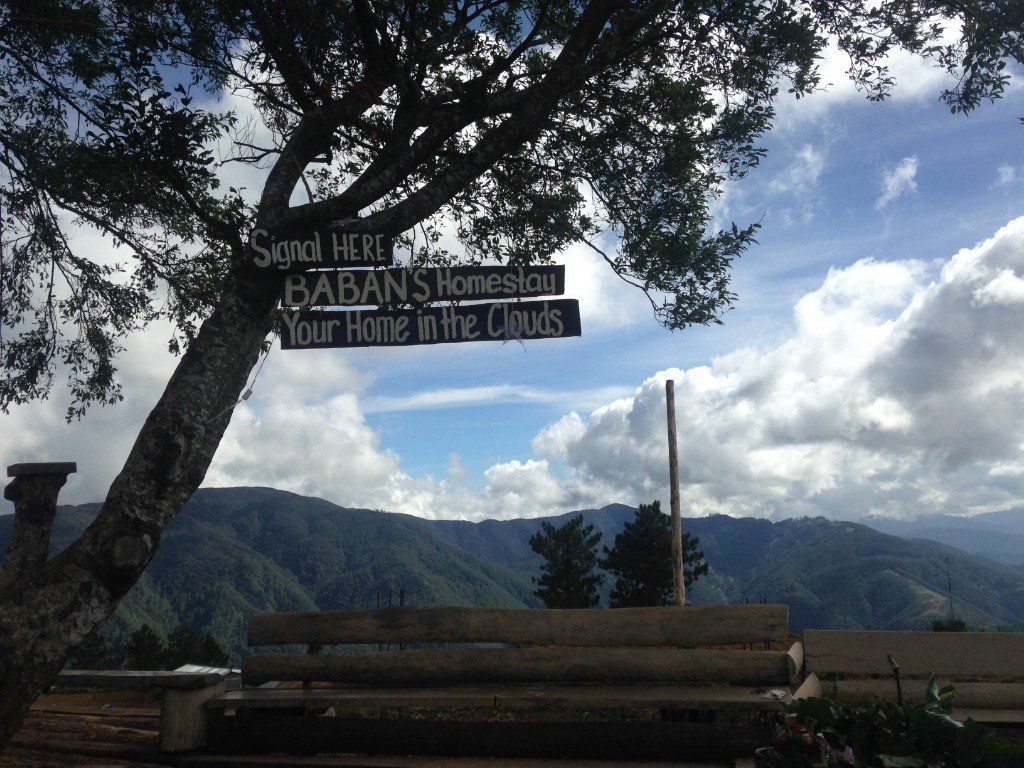
Our group stayed at Baban's Homestay which is a 20-minute walk from the Ranger Station. There's a gorgeous view overlooking fields and mountains, and you can also ask them to prepare meals for Php 100 per person. You are also allowed to bring food if you want to cook - just talk to the owners to ask them for permission. There are also parking spaces where you can leave your car or the van you rented.
There are other homestays that are closer to the Ranger Station but from our observations, Baban's Homestay is the best one. ;)
There are other homestays that are closer to the Ranger Station but from our observations, Baban's Homestay is the best one. ;)
WHAT TO DO
Here are the necessary steps you need to take the day before your hike. For our group, we opted to stay at a homestay (a transient-like place near the Ranger Station) so we could rest properly. You can also decide to camp for the full experience but if this is your first time, we suggest renting at the homestay.
We decided to hike at 1AM on Friday to be at the summit in time for the sunrise. That means we went to the van terminal on Thursday morning. This means the trip to Kabayan and back to Baguio took 2 days, 1 night. Here's a sample itinerary:
We decided to hike at 1AM on Friday to be at the summit in time for the sunrise. That means we went to the van terminal on Thursday morning. This means the trip to Kabayan and back to Baguio took 2 days, 1 night. Here's a sample itinerary:
DAY 1
7AM
Head to the van terminal at around 7AM or before. The first trip is at 7AM, but if you're renting the van for your group, you can talk to the persons in charge in the terminal so they can call for a driver for you. The terminal is located at Baguio City's Slaughter House. If you're not renting the van, you might have to transfer to another mode of transportation to go to the hospital/clinic, the Protected Area Office, and the Ranger Station. Ask the driver about these arrangements or where those terminals are located.
If you're renting the van, tell the driver that you wish to be driven to the clinic/hospital, the Protected Area Office, and your accommodations at the homestay. (You can even ask the driver for a side trip to Ambuklao or Binga Dam if you want to see it, too!)
10AM
Go to the clinic or the hospital for your medical certificate. This is required. They'll take your blood pressure and check your conditions if you're fit to climb. (If you have hypertension, you're pregnant, or you have serious illnesses, it might be better to not go at all. Wait until your condition is okay before you decide to hike.)
11AM
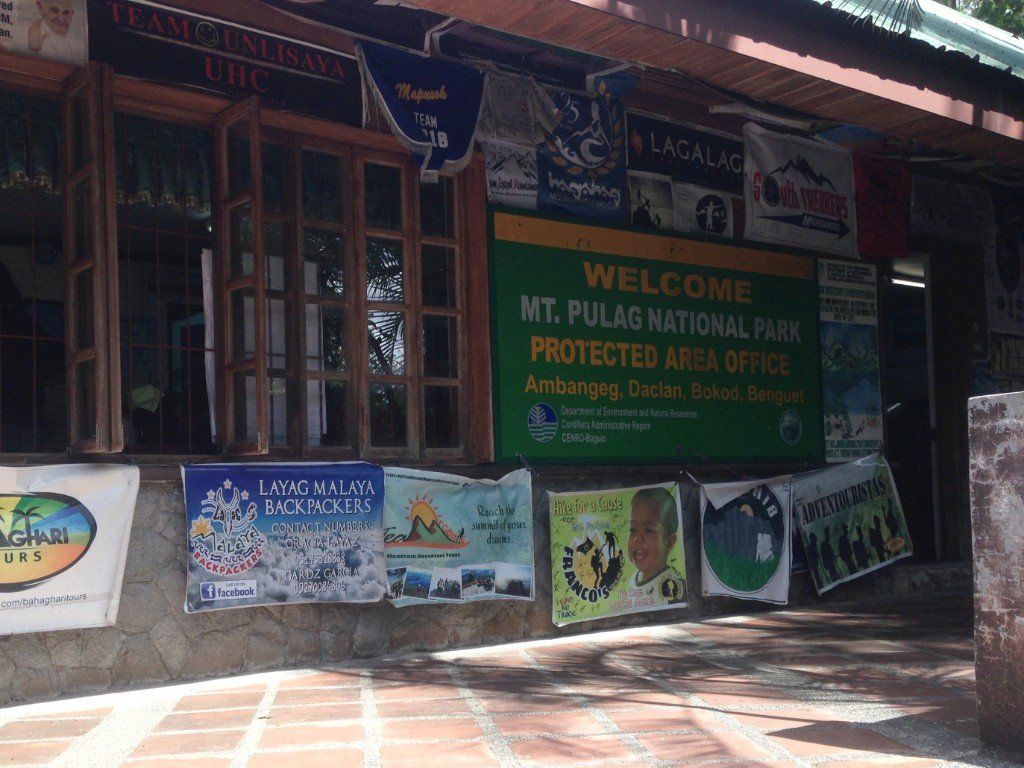
Go to the Mount Pulag Protected Area Office for your hike orientation. They'll ask for the names of your companions, and this is also where you can buy some stuff you might need like flashlights, bonnets, gloves, and some souvenirs like shirts, fridge magnets, and keychains. The orientation is an important part because this is where they'll tell you about the trails, the customs, and the do's and don'ts.
1PM
Go to the homestay to check in and eat lunch if you haven't yet. If you want the homestay owners to cook meals for the group, make sure to call or text when you're on your way since preparing the food could take time. The meals we paid for was Php 100 per person. You'll get a complete meal from them. For our lunch, they cooked rice, vegetables, and tinola for the group.
During this time, the driver can already leave you so he can go back to Baguio City. Make sure to talk to him regarding the time he should pick your group up to go back to the city. If you're not in a rush to go back, we suggest setting a later time such as 1PM or 2PM so you'll have time to rest at the homestay after your hike.
2PM
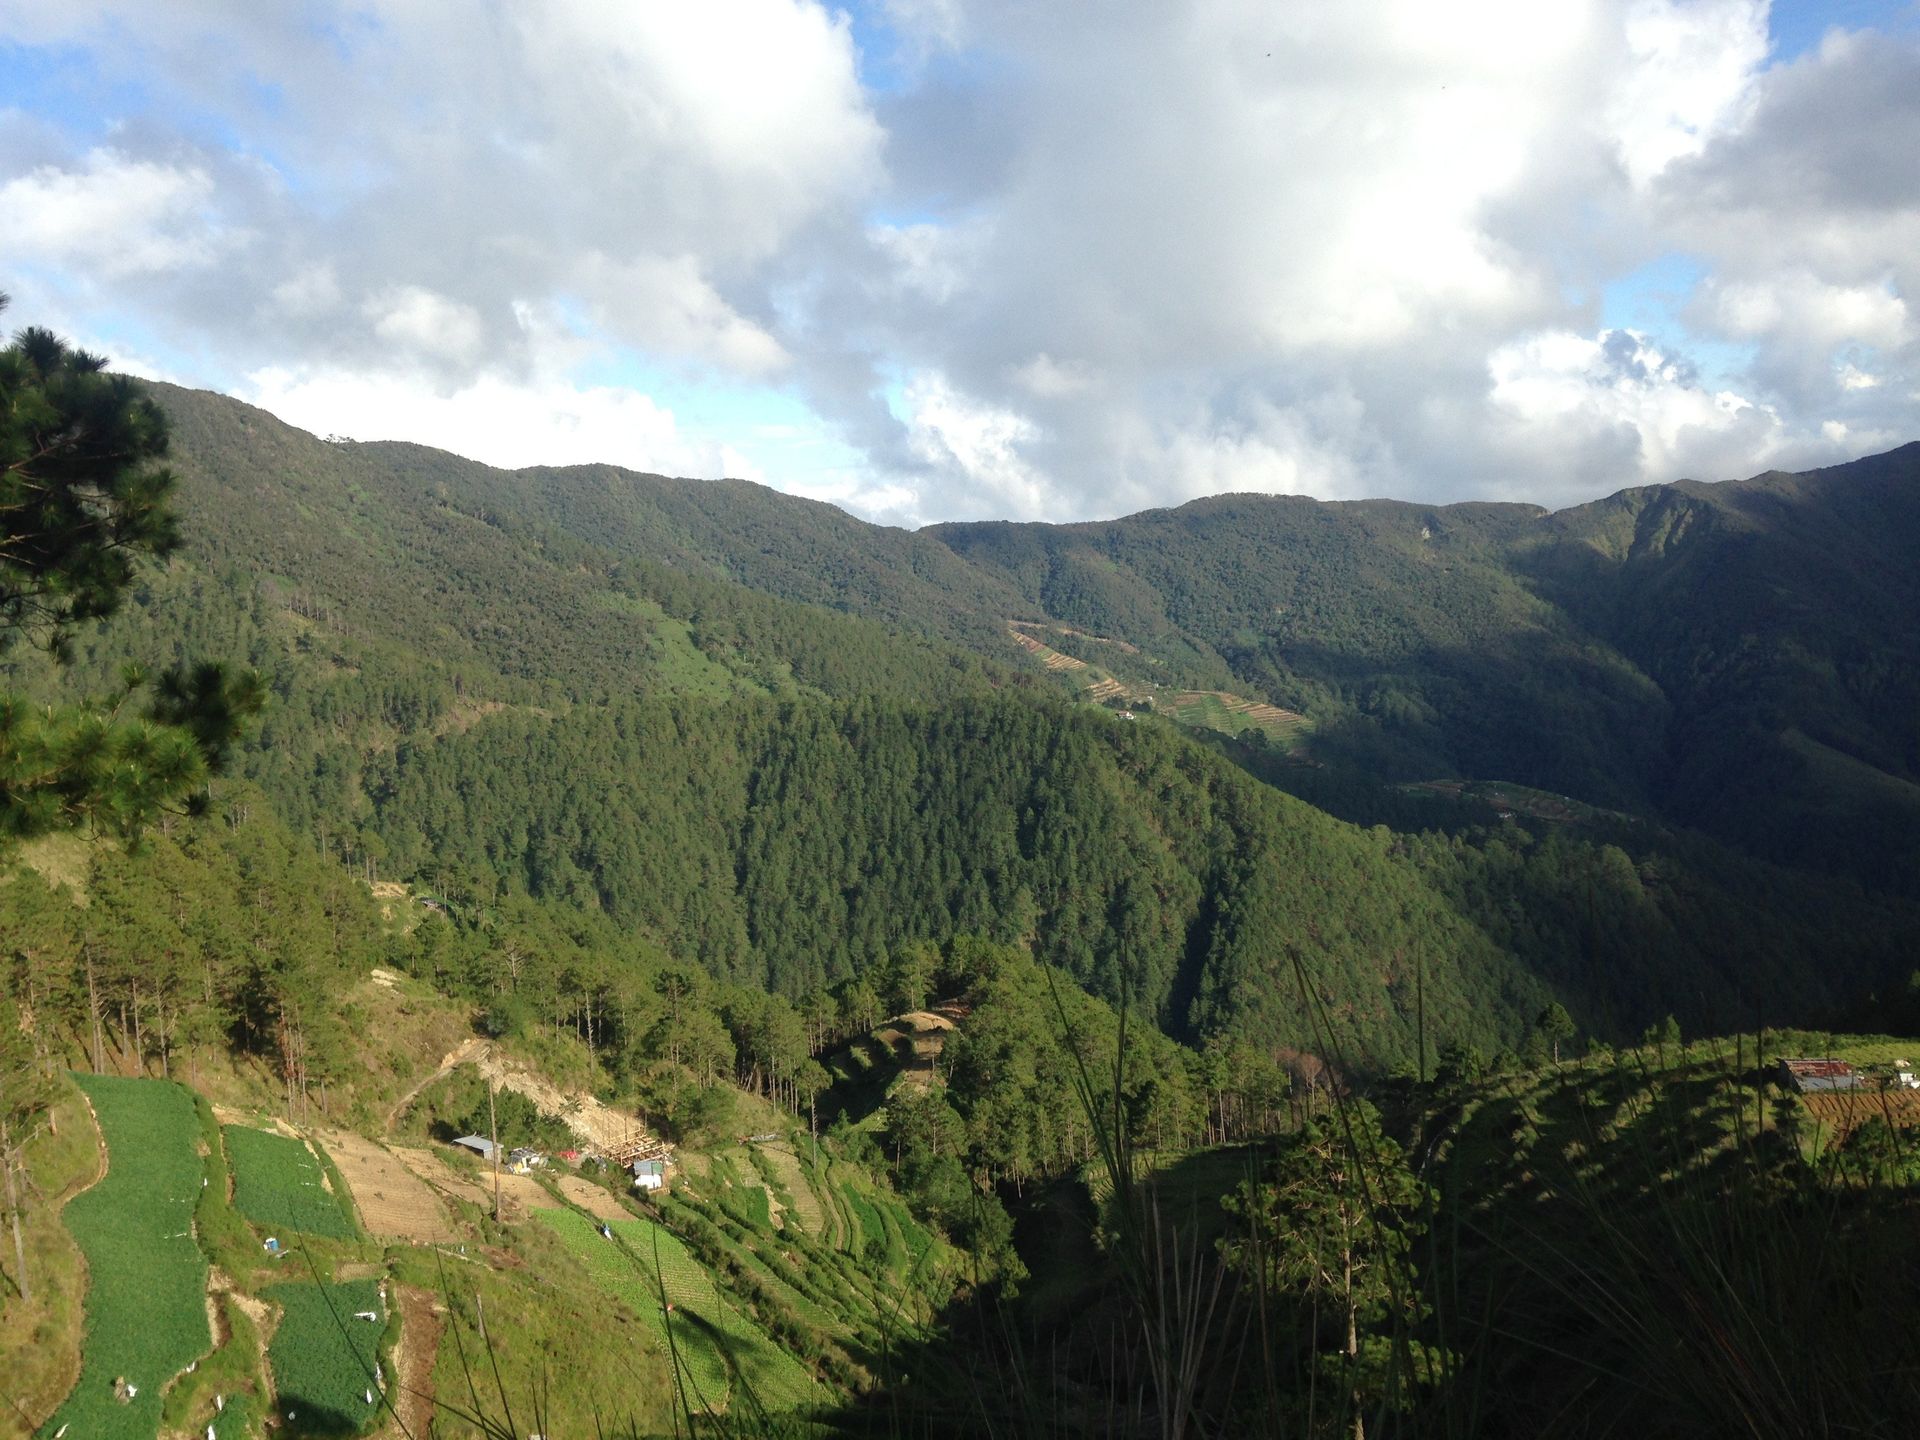
Head over to the Ranger Station to get your team registered for your hike.You may leave some of your stuff because they'll give you keys to your rooms at the homestay. Walking with your group to the Ranger Station can give you a feel of the walk you'll endure. Sure, the mountain hike is nothing like the walk to the Ranger Station but there are pretty nice views of the mountain and the vegetable plantations you'll definitely enjoy.
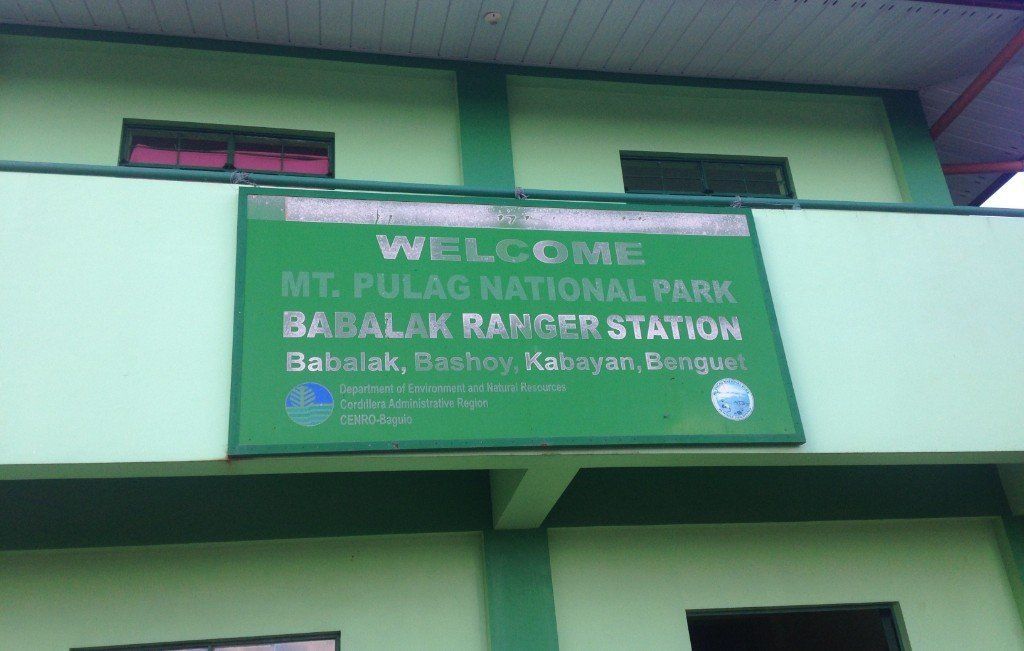
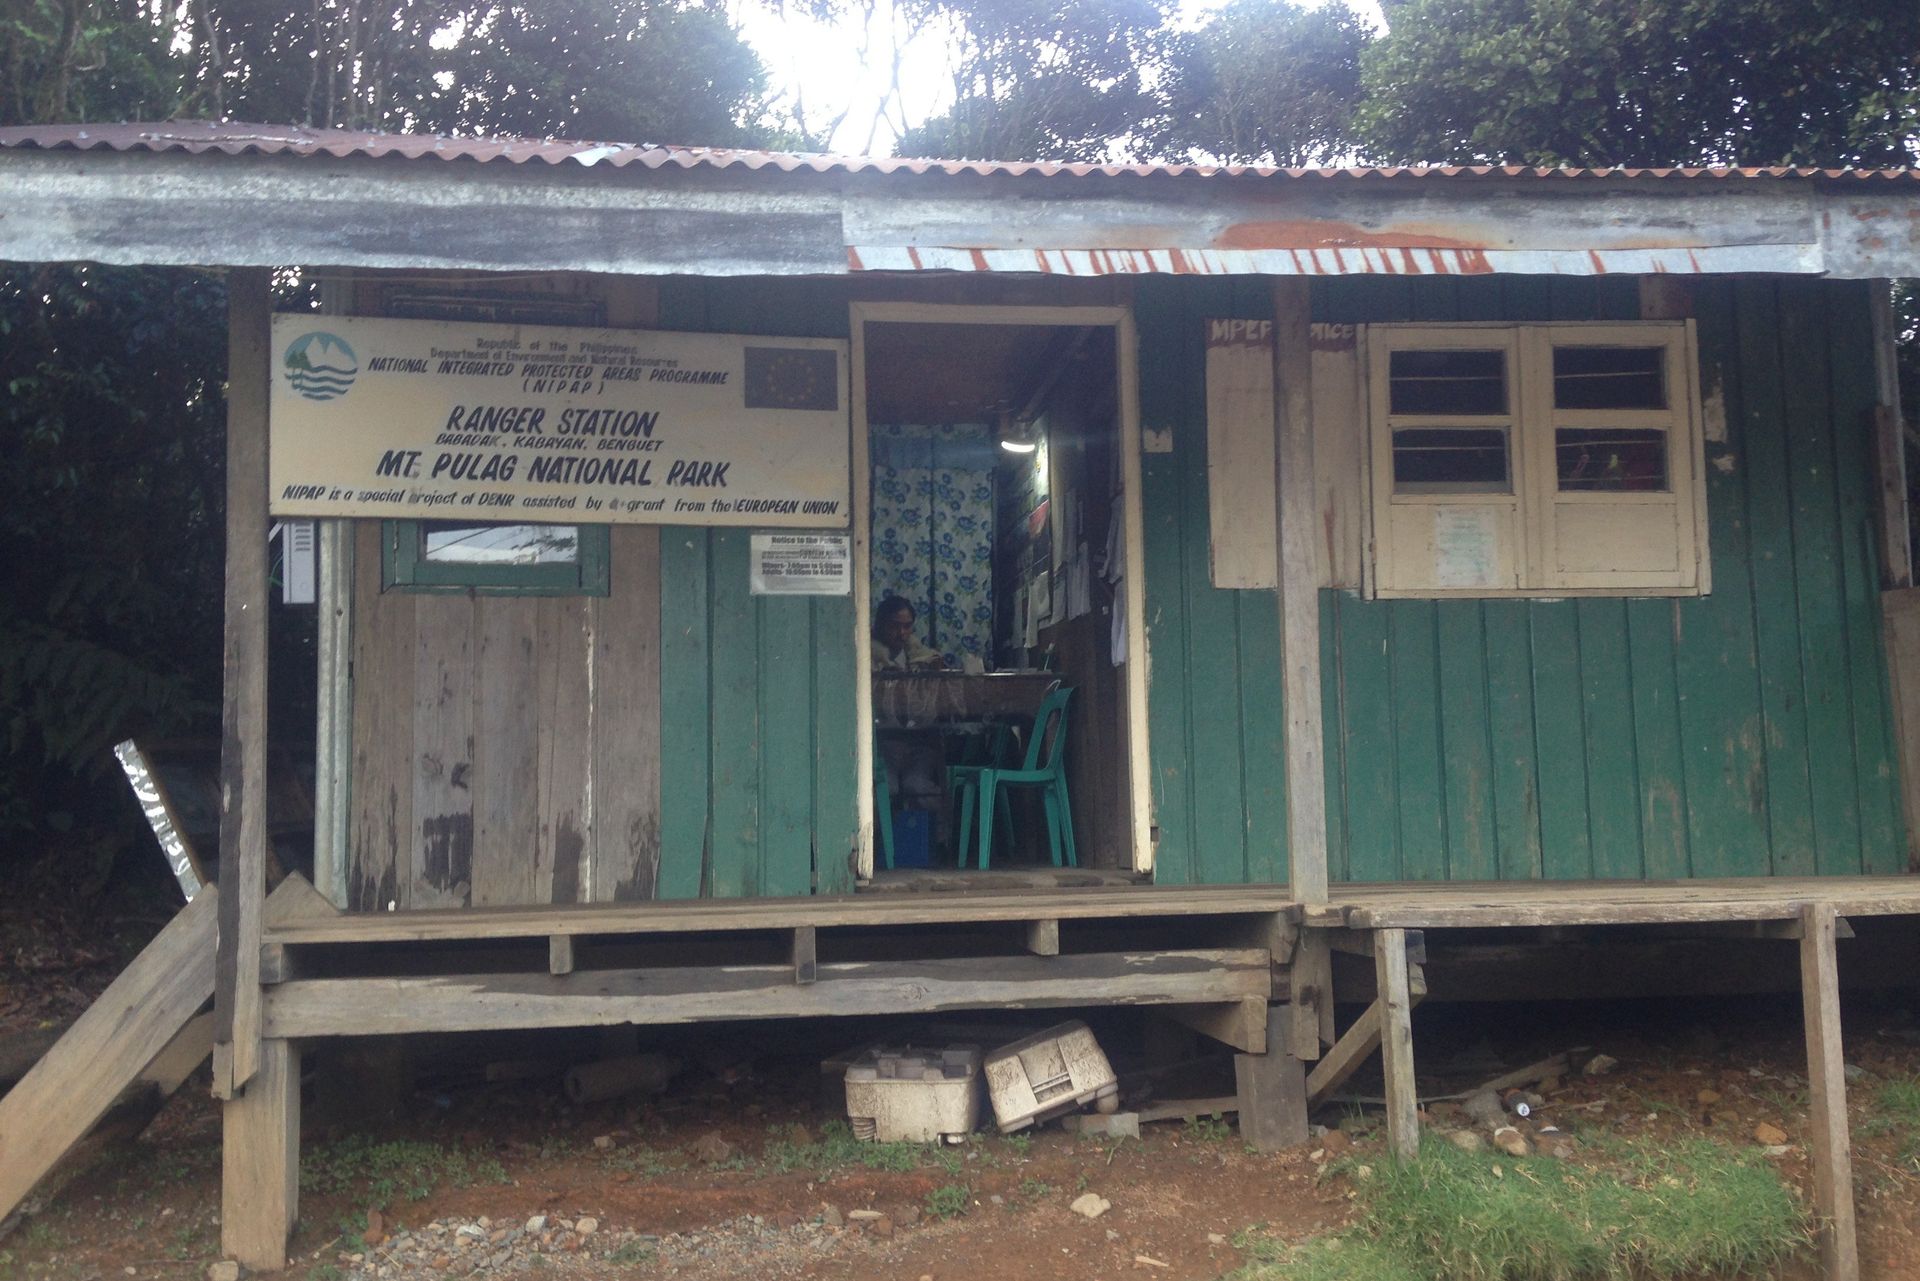
The Ranger Station where you'll pay for the DENR fee, the LGU fee, and the tour guide. The DENR fee is worth Php 175, the LGU fee is worth Php 150, and the tour guide is worth Php 120. The price for the tour guide is Php 120 per head for a group of six. If there's more of you in your team, you'll have to add another tour guide.
3PM
Go back to the homestay to rest before your hike. Make sure to eat enough and sleep! You can eat and sleep until it's time to prepare, or you can sleep and then wake up later for dinner or a midnight meal before the hike. (During our trip, some of us were unable to sleep. If this is the case, it's better to not drink energy drinks, especially if you're not used to it, because it might have a different effect. Just eat enough and drink coffee so you'll still have energy for the hike.)
11PM
Wake up and start preparing at least an hour before the planned hike. Since we were starting the climb at 1AM, we got ready at around 11:30PM. That's when we ate another meal (besides the one we had for our early dinner) and drank coffee. We also made sure we have everything we need before leaving.
DAY 2
1AM
Meet the tour guide/s at the Ranger Station. That's where we did our final preparations and where we prayed before starting with the hike!
We didn't check what time the sun would rise, but it would be helpful if you've got this ready. This is so you can set your pace to reach the summit around sunrise. You can also check with your tour guide so they can give you a suggested start time.
Make sure your shoes are durable enough that they won't break easily. You'll pass through muddy forests that are sometimes wet, and it could eve get slippery. It's best if your hands are free so you can hold on to branches when necessary.
Even though everyone is surely excited, we should be respectful of other hikers by remaining quiet. It's okay to talk among ourselves, but shouting or laughing loudly is not recommended. It's also common courtesy to greet other hikers with "good morning" - trust us, when they tell you the same thing, it's feels nice. Especially because you're all headed towards one destination, even if you don't really know each other.
There are no toilet rooms, but there are designated comfort areas. Or if you really have to pee, tell the team you need to relieve yourself so others can, too. And in this way, you're sticking with your group. It's dark so it's important to stick together, especially because you're in danger of getting lost if you lose your group.
You'll want to rush to reach the sunset, but always remember that your safety is the priority. Don't run. Don't rush. Rest when you feel like resting. Drink lots of water. Eat. Remember: your safety comes before any view or photo you're dreaming of taking.
Even if you don't reach the summit by the time the sun rises, there are still plenty of awesome views along the way you'll enjoy. It's not how fast you get there. It's about getting there in one piece!
When you or someone in your group starts feeling something wrong, tell the tour guide so they can assist you immediately.
5:30AM
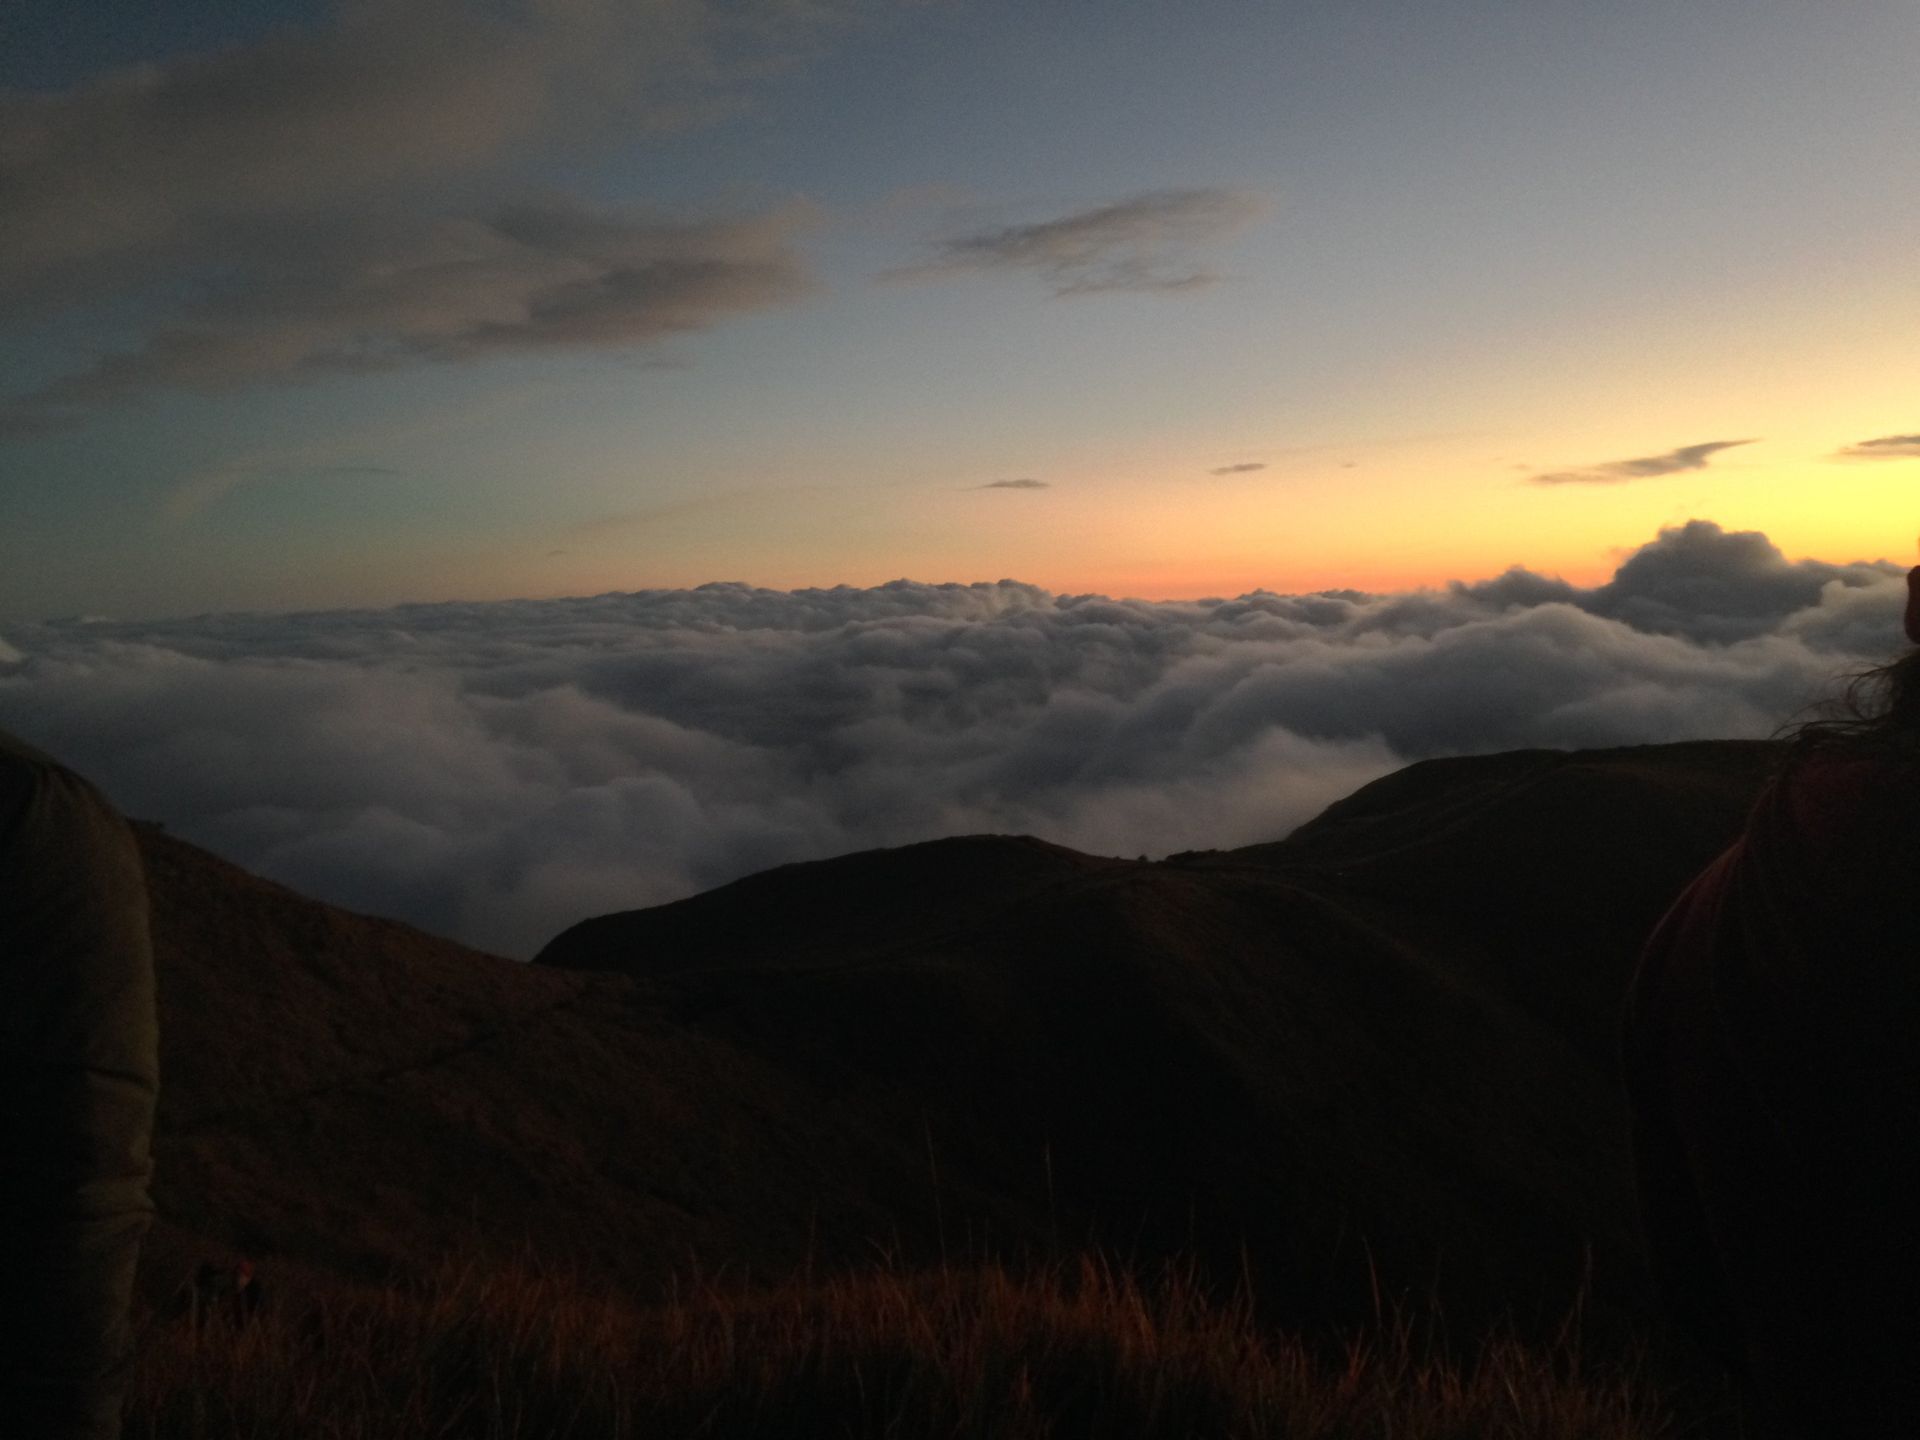
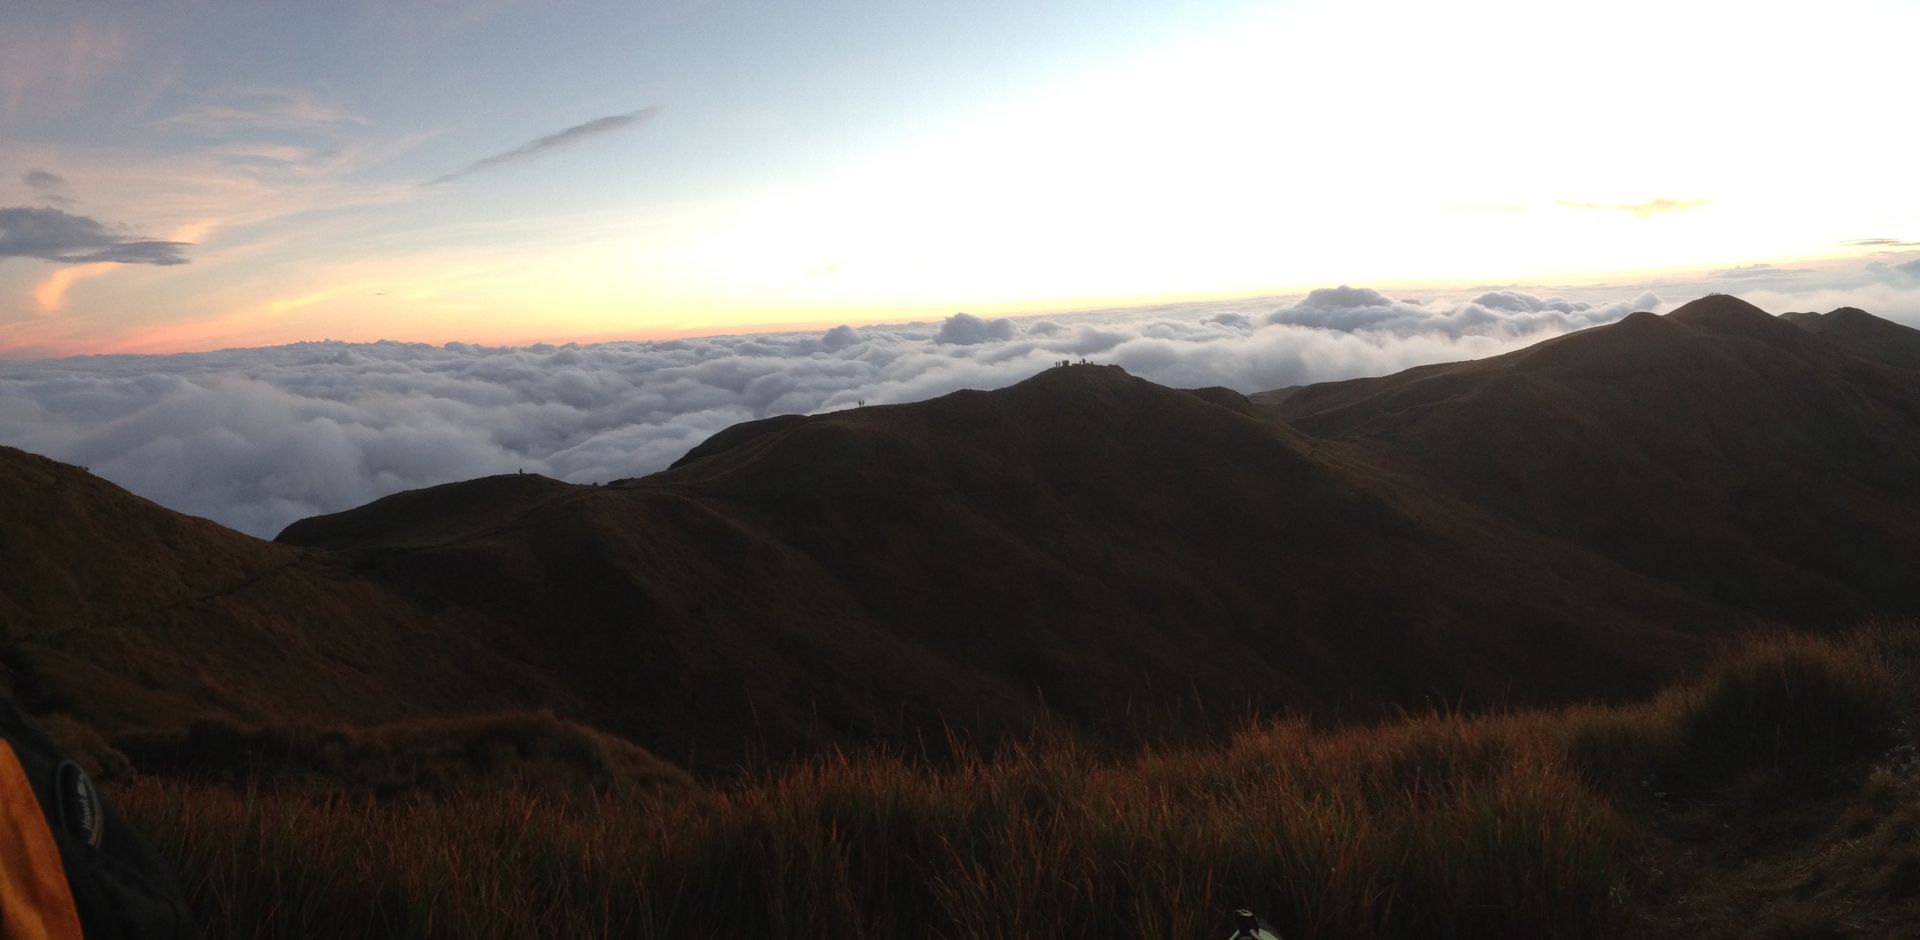
As mentioned, this isn't always the exact time the sun would rise but during our trip, it was already getting bright at around 5:20AM. We were able to reach the summit when the sun showed up and it was incredible! This is your chance to take lots of pictures.
7AM/8AM (Or depending on what time your driver will arrive at the homestay to pick you up. You can check with your tour guide what time they suggest you come down.)
During your hike down the mountain, this is when you can take the pictures you weren't able to take on the way up! However, the sun can shine extra brightly so it's also best to get down before it gets too hot.
During your hike down the mountain, this is when you can take the pictures you weren't able to take on the way up! However, the sun can shine extra brightly so it's also best to get down before it gets too hot.
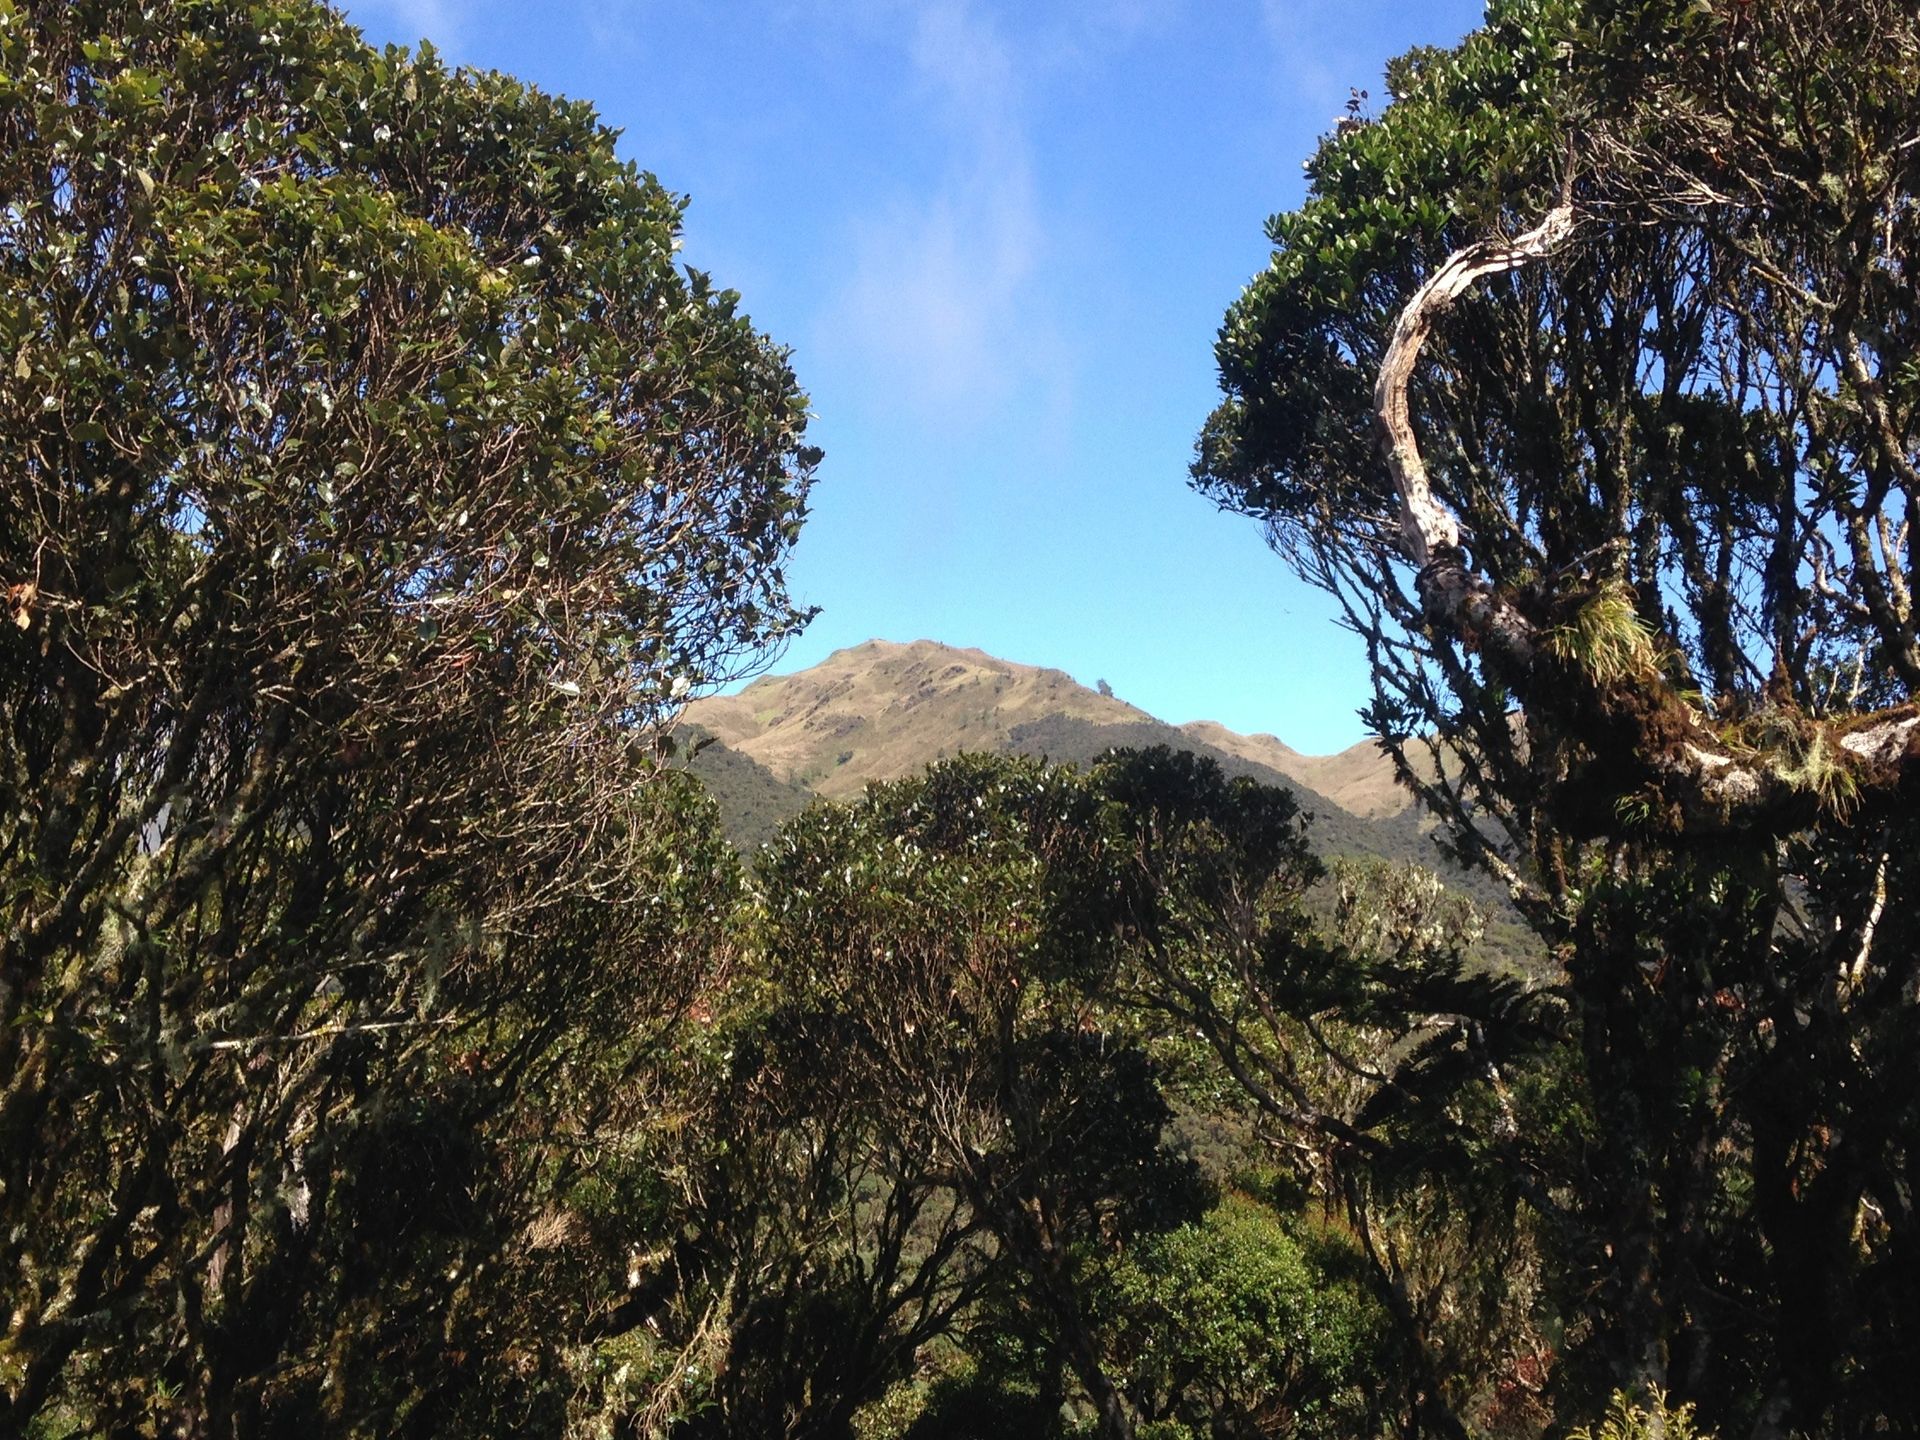
On your way down is where you'll feel most exhausted. Your feet will start hurting and there are lots of times when you'll just want to lie down and dream about your bed.
Again, rest, pause, pee, drink, or eat when you want to. Just stay at a safe spot so you're not in danger of falling somewhere or you're not disturbing other hikers.
Again, rest, pause, pee, drink, or eat when you want to. Just stay at a safe spot so you're not in danger of falling somewhere or you're not disturbing other hikers.
The hike is tiring, and your legs might even feel numb when the adrenaline is all gone. However, when you start looking through your pictures that's when you'll realize - you did it! You've conquered and survived Mt Pulag!
What other tips do you have? Share them with us and let us know how your Pulag hike went!

